How to make your own low-ohmic resistors

by Mick Feuerbacher, November 2005


In Audio design, frequently resistors of low-ohmic value are needed. If you want to avoid wirewounds, it is sometimes very difficult to locate sources for good low-ohmic resistors. Wirewounds are not appropriate for many purposes due to their rather high inductance. In this article I describe a very simple way to make your own low-ohmic resistors without inductance.


All you need is an ordinary wirewound resistor, which will serve as a donor for the resistor material. The problem with the wirewounds is not the wire, its the wound. So we can use the wire for our purposes if we simply unwind it and keep it straight.

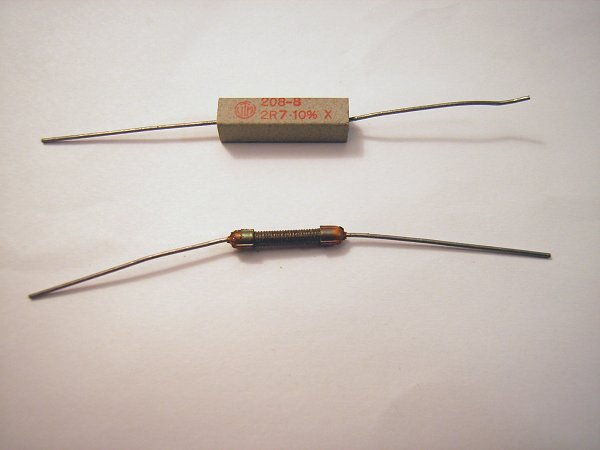
Choose a wirewound of somewhat higher value than you need for your application (see below). A good choice are concrete resistors as shown in the upper part of the image. You can easily remove the concrete by cracking them in a vice. Under the concrete, as shown in the lower part of the image, you find the wire, wich is wound on an insulating carrier.

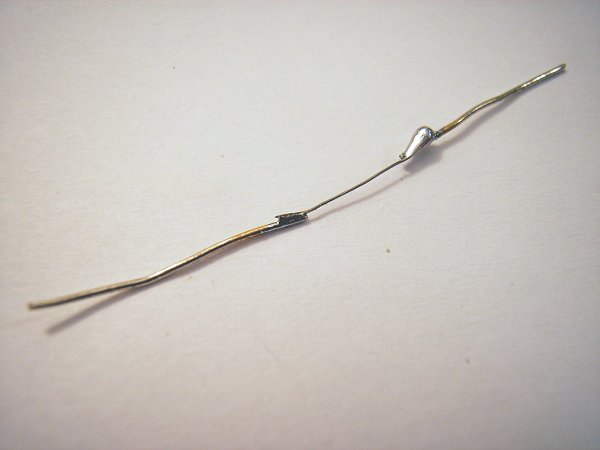
Cut off the metal caps at both ends of the resistor with pliers. Then you can unwind the wire.


The ohmic value of the resistor is linearly related to the length of the wire. Measure the length and resistance of the wire. (Before you measure the resistance, determine the offset of your multimeter by shorting the probes and take this into account).

You can then calculate the resistivity per unit lenght of the cable and easily scale down to the value you need. For instance, I needed a 0R1 resistor. My wire was 39 cm long and the measured resistance was 3.9 Ohm. Hence, I used a 1cm piece for my custom resistor.

When you cut off a piece of the wire of appropriate length for your desired value make sure that you add some extra length for contacting. I cut off about 14 mm and used 2 mm on each side for contacting.


The wire is not very easy to solder. I had to grind off the insulating surface layer which was on the wire (some sort of laquer) otherwise soldering was impossible. The rest is straightforward: solder the wire to two contacting wires or directly to the parts you want to connect them to. If you whish, you can finish it using some heatshrink.

The wirewound resistors available contain wires of different resistivity per length. You should use one which allows you to end up with about a centimeter or so for your custom resistor. Much smaller lenghts are too difficult to handle and longer lenghts will tend to wind up again, causing unwanted inductance. As a rule of thumb you should use a resistor value of about 100 times the value you need. This, however, may depend on the make you use.

The power rating of the custom resistor should be about the same as the one of the wirewound used as donor.