My implementation of the Audiodigit TA2020 T-amp

by Mick Feuerbacher, October 2005


This article describes my implementation of the Tripath TA2020 based amplifier module. The module was developed by Audiodigit and is marketed by Autocostruire.it as a kit or preassembled. It comes with aircore inductors and an Alps pot.


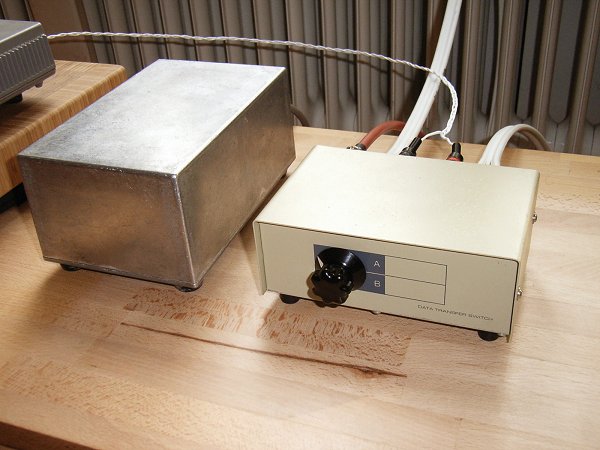
I use an external PSU and was therefore able to put the amp board into a very small case. I used an old A/B printer switchbox which I have found in a scrapbox.

The amp module is seen on the lower right side. The board is mounted in the case in such a way that the chip touches the front panel (with an electrical insulation pad in between) in order to use the latter as a heatsink.

I do not use the Alps pot that comes with the kit. This pot is very good but the 24-position stepped attenuator seen in the picture is better.
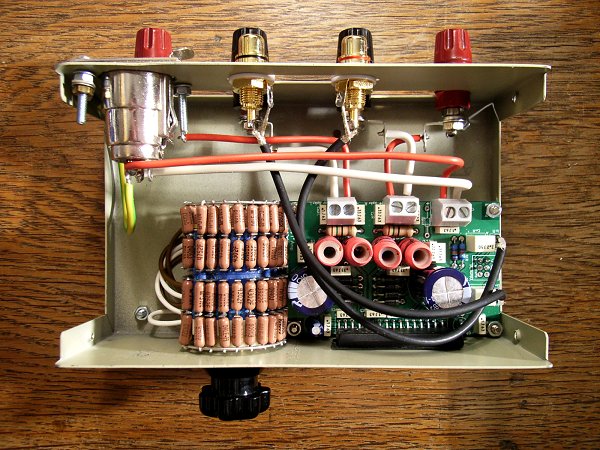


Besides the use of the stepped attenuator I left the amp unchanged. I have only optimized the output filter for my 4 Ohms speakers.

As you can see I have placed the RCA connectors and speaker-cable posts directly into the parallel-port slits which were present in the case. When I find the time I will make a new back panel with dedicated and fitting holes for the connectors.


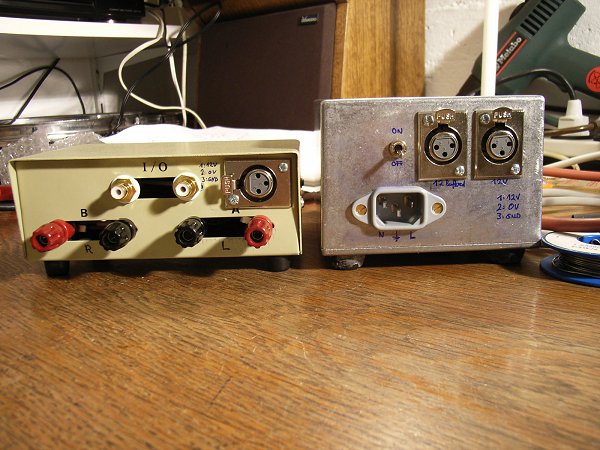
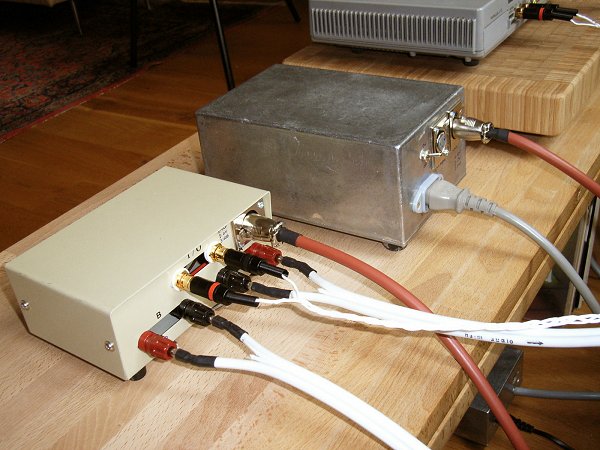
The back side of the amp (left) and the PSU (right) with the connectors. For the power-supply connector I use a cable with three wires, +12V, 0V, and ground and XLR connectors. The PSU has two outputs.


The amp needs a single supply of 12 to 15 V. I use a 12 V switch-mode power supply which I have bought from Nick Whetstone (Decibel Dungeon).

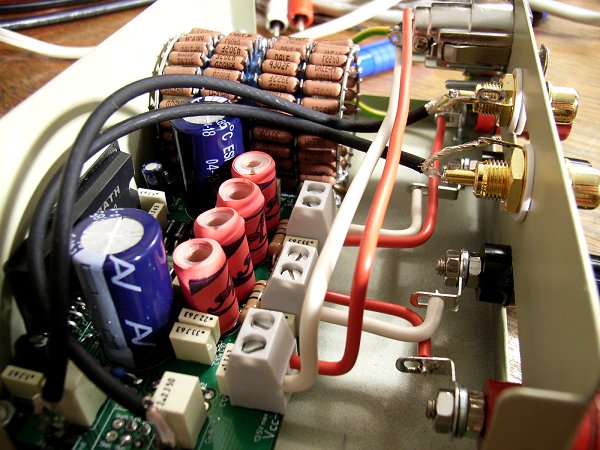
I use a 10.000 uF capacitor parallel to the output.

Following a suggestion by Nick, I have also experimented temporarily with a snubber on the output cap. In this picture you see a serial 1R / 100nF network directly soldered to the pins of the capacitor.


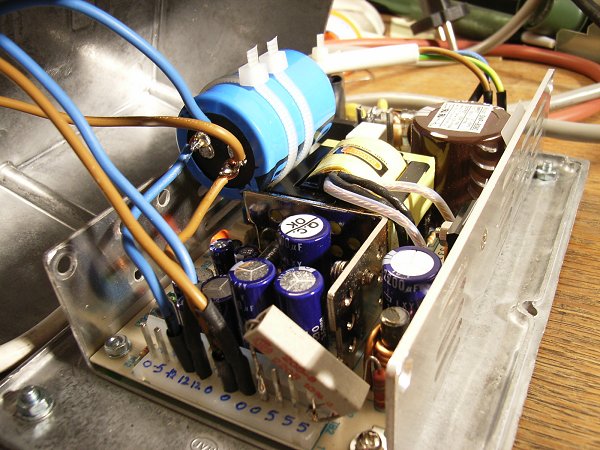
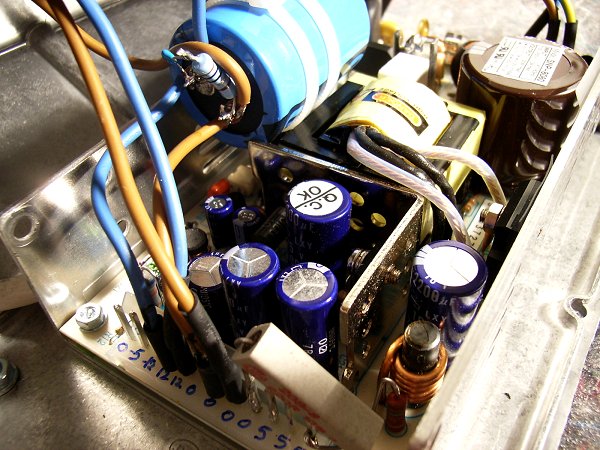
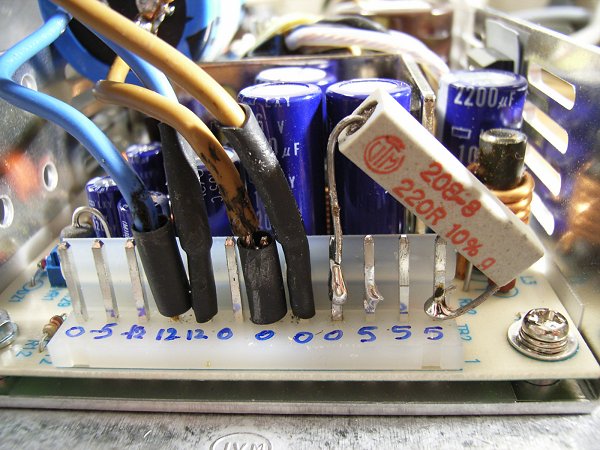
A resistor is attached as a permanent load to the primary (5 V) output. Why?

A SMPS regulates only one voltage, usually the one with the largest output current, which is in this case the 5 V output. For the regulation, a current has to flow. If there is no current, the regulation is not possible. The secondary output (12 V in this case) is not regulated on itself, but the regulated voltage from the primary output is taken to produce the appropriate voltage for the secondary voltage. So if the primary output cannot regulate due to the missing current, the secondary cannot as well and the SMPS might increase the voltage or to other strange things.
The value of the current flowing is not important, there only has to be ANY current. It is useful to use a high resistor value, something like 1k or 10k (corresponding to loads of 25 or 2.5 mW, respectively) in order to keep the losses small.


The amp and the PSU in the system. Front...


... and back.

Grounding issues: The amp PCB has its own grounding scheme and I have left it as it is. The PCB ground is not connected to the case, and the RCA and speaker-cable posts are isolated from the case.

The mains ground is directly connected to the PSU case (safety earth). One wire of the power-supply connection (red cable) used for the connection of this ground to the amp.

This wire directly connects the cases of the amp and the PSU (and hence the amp case is indirectly connected to mains earth this way). This connection is important. The background noise is considerably reduced and touching the case does not lead to any hum. Before I had this connection I could hear a distinct hum when I touched the case of the amp.


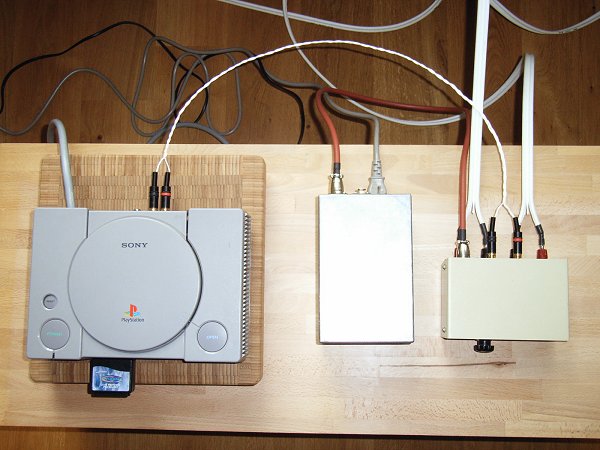
The system with all connections. On the left is the source, a Sony Playstation 1. The interconnect is a self made braid symmetrical silver plated cable.

The speakers are Audio Physic Tempo IIIi, the speaker cables are Naim NACA5.